
Key Takeaways
- Simply arrange your Nest Thermostat schedule for automated temperature management.
- Regulate temperature settings with the Nest app or instantly on the system for heating management.
- Make the most of further options like Eco Mode, security temperature, and linking with voice assistants.
Google’s Nest model is the good dwelling jack-of-all-trades. From smart speakers and security cameras to doorbells and smoke detectors, the corporate’s units provide one of the full instrument kits for protecting your private home beneath management. Add a thermostat to the combination, and you may really benefit from the consolation of comfort.
I’ve explored find out how to install a Nest Learning Thermostat in a earlier article, and now I wish to take a wider look. On this function, I mixed all the ideas, methods, and knowledge I’ve discovered whereas utilizing Nest merchandise into one information that will help you get probably the most out of your Nest Studying Thermostat. From scheduling, programming, and syncing with Google Assistant and Alexa, we have you lined.
Nest Studying Thermostat (Third-Era)
$203 $249 Save $46
In terms of central heating management, the Nest Studying Thermostat 3.0 is an excellent instrument. Simple to make use of and providing the potential to avoid wasting power and cash, it is a terrific choice for a contemporary good dwelling.

Nest Thermostat scheduling ideas and methods
This part covers the scheduling of the Nest Studying Thermostat to set the temperature robotically. As soon as it’s arrange, you’ll be able to sit back and calm down.
The way to entry the scheduling instruments on a Nest Thermostat
Throughout the Nest app:
- Open the Nest app.
- Faucet the thermostat icon.
- Faucet Schedule.
- Comply with the prompts to set your most well-liked schedule.
On the Nest Thermostat:
- Activate the display and flip the outer dial clockwise till it lands on the calendar icon.
- Faucet the display to enter this system mode.
- Comply with the prompts to set your schedule or proceed studying to be taught the specifics.
The way to change the temperature schedule on a Nest Thermostat
Throughout the Nest App:
- Open the Nest app.
- Faucet the thermostat icon.
- Faucet Schedule.
- Choose the day you wish to create a schedule for.
- Press and maintain the orange temperature icon.
- Regulate the slider up or down to set your most well-liked temperature.
- Swipe left or proper to entry the time settings.
On the Nest Thermostat:
- After activating this system mode, flip the outer dial till it lands on the orange temperature icon.
- Faucet the display to pick and enter.
- Faucet the display once more to pick Change.
- Flip the outer dial to alter the temperature to your most well-liked setting.
- Press the display once more to pick your most well-liked temperature setting.
The way to add a temperature to the Nest Thermostat’s hourly schedule
Throughout the Nest App:
- Faucet the thermostat circle.
- Faucet the Schedule tab.
- Faucet as soon as on the day you wish to regulate to enter its settings web page.
- Faucet Add within the backside proper nook of the schedule display.
- Faucet on the time to which you wish to add a temperature schedule.
- Press and maintain on the added circle, and slide your finger up or down to decide on the temperature you need.
On the Nest Thermostat:
- Press the face of the thermostat.
- Flip the skin dial clockwise to the calendar icon.
- Push the face of the Thermostat once more to pick.
- Flip the skin dial to pick the time to which you wish to add a temperature schedule.
- Push the face of the Thermostat to pick.
- Push the face once more to pick the brand new setting.

The way to copy and paste a day’s schedule on the Nest Thermostat
This may be performed inside the Nest App:
- Faucet the thermostat circle.
- Faucet the Schedule tab.
- Press and maintain the day you wish to copy.
- Faucet Copy.
- Paste it into the times you need the schedule repeated by tapping and holding down on the day and deciding on ‘Paste’.

How to install a Google Nest Thermostat
The Nest Thermostat provides a sensible and handy strategy to regulate your private home’s temperature, and this information makes the setup simply as easy.
The way to copy and paste a complete week’s schedule on the Nest Thermostat
That is mainly the identical because the above, however you need to discover the “Copy Week” instrument.
It may be performed inside the Nest app:
- Faucet the thermostat circle.
- Faucet the Schedule tab.
- Faucet Copy Week.
- Discover the week you wish to paste in and faucet Paste Week to switch the week’s schedule.
 Nest Thermostat each day heating ideas and methods
The following pointers element find out how to use the Nest Studying Thermostat for each day temperature tweaks. You may make changes on the system itself or remotely on a synced cellular system.
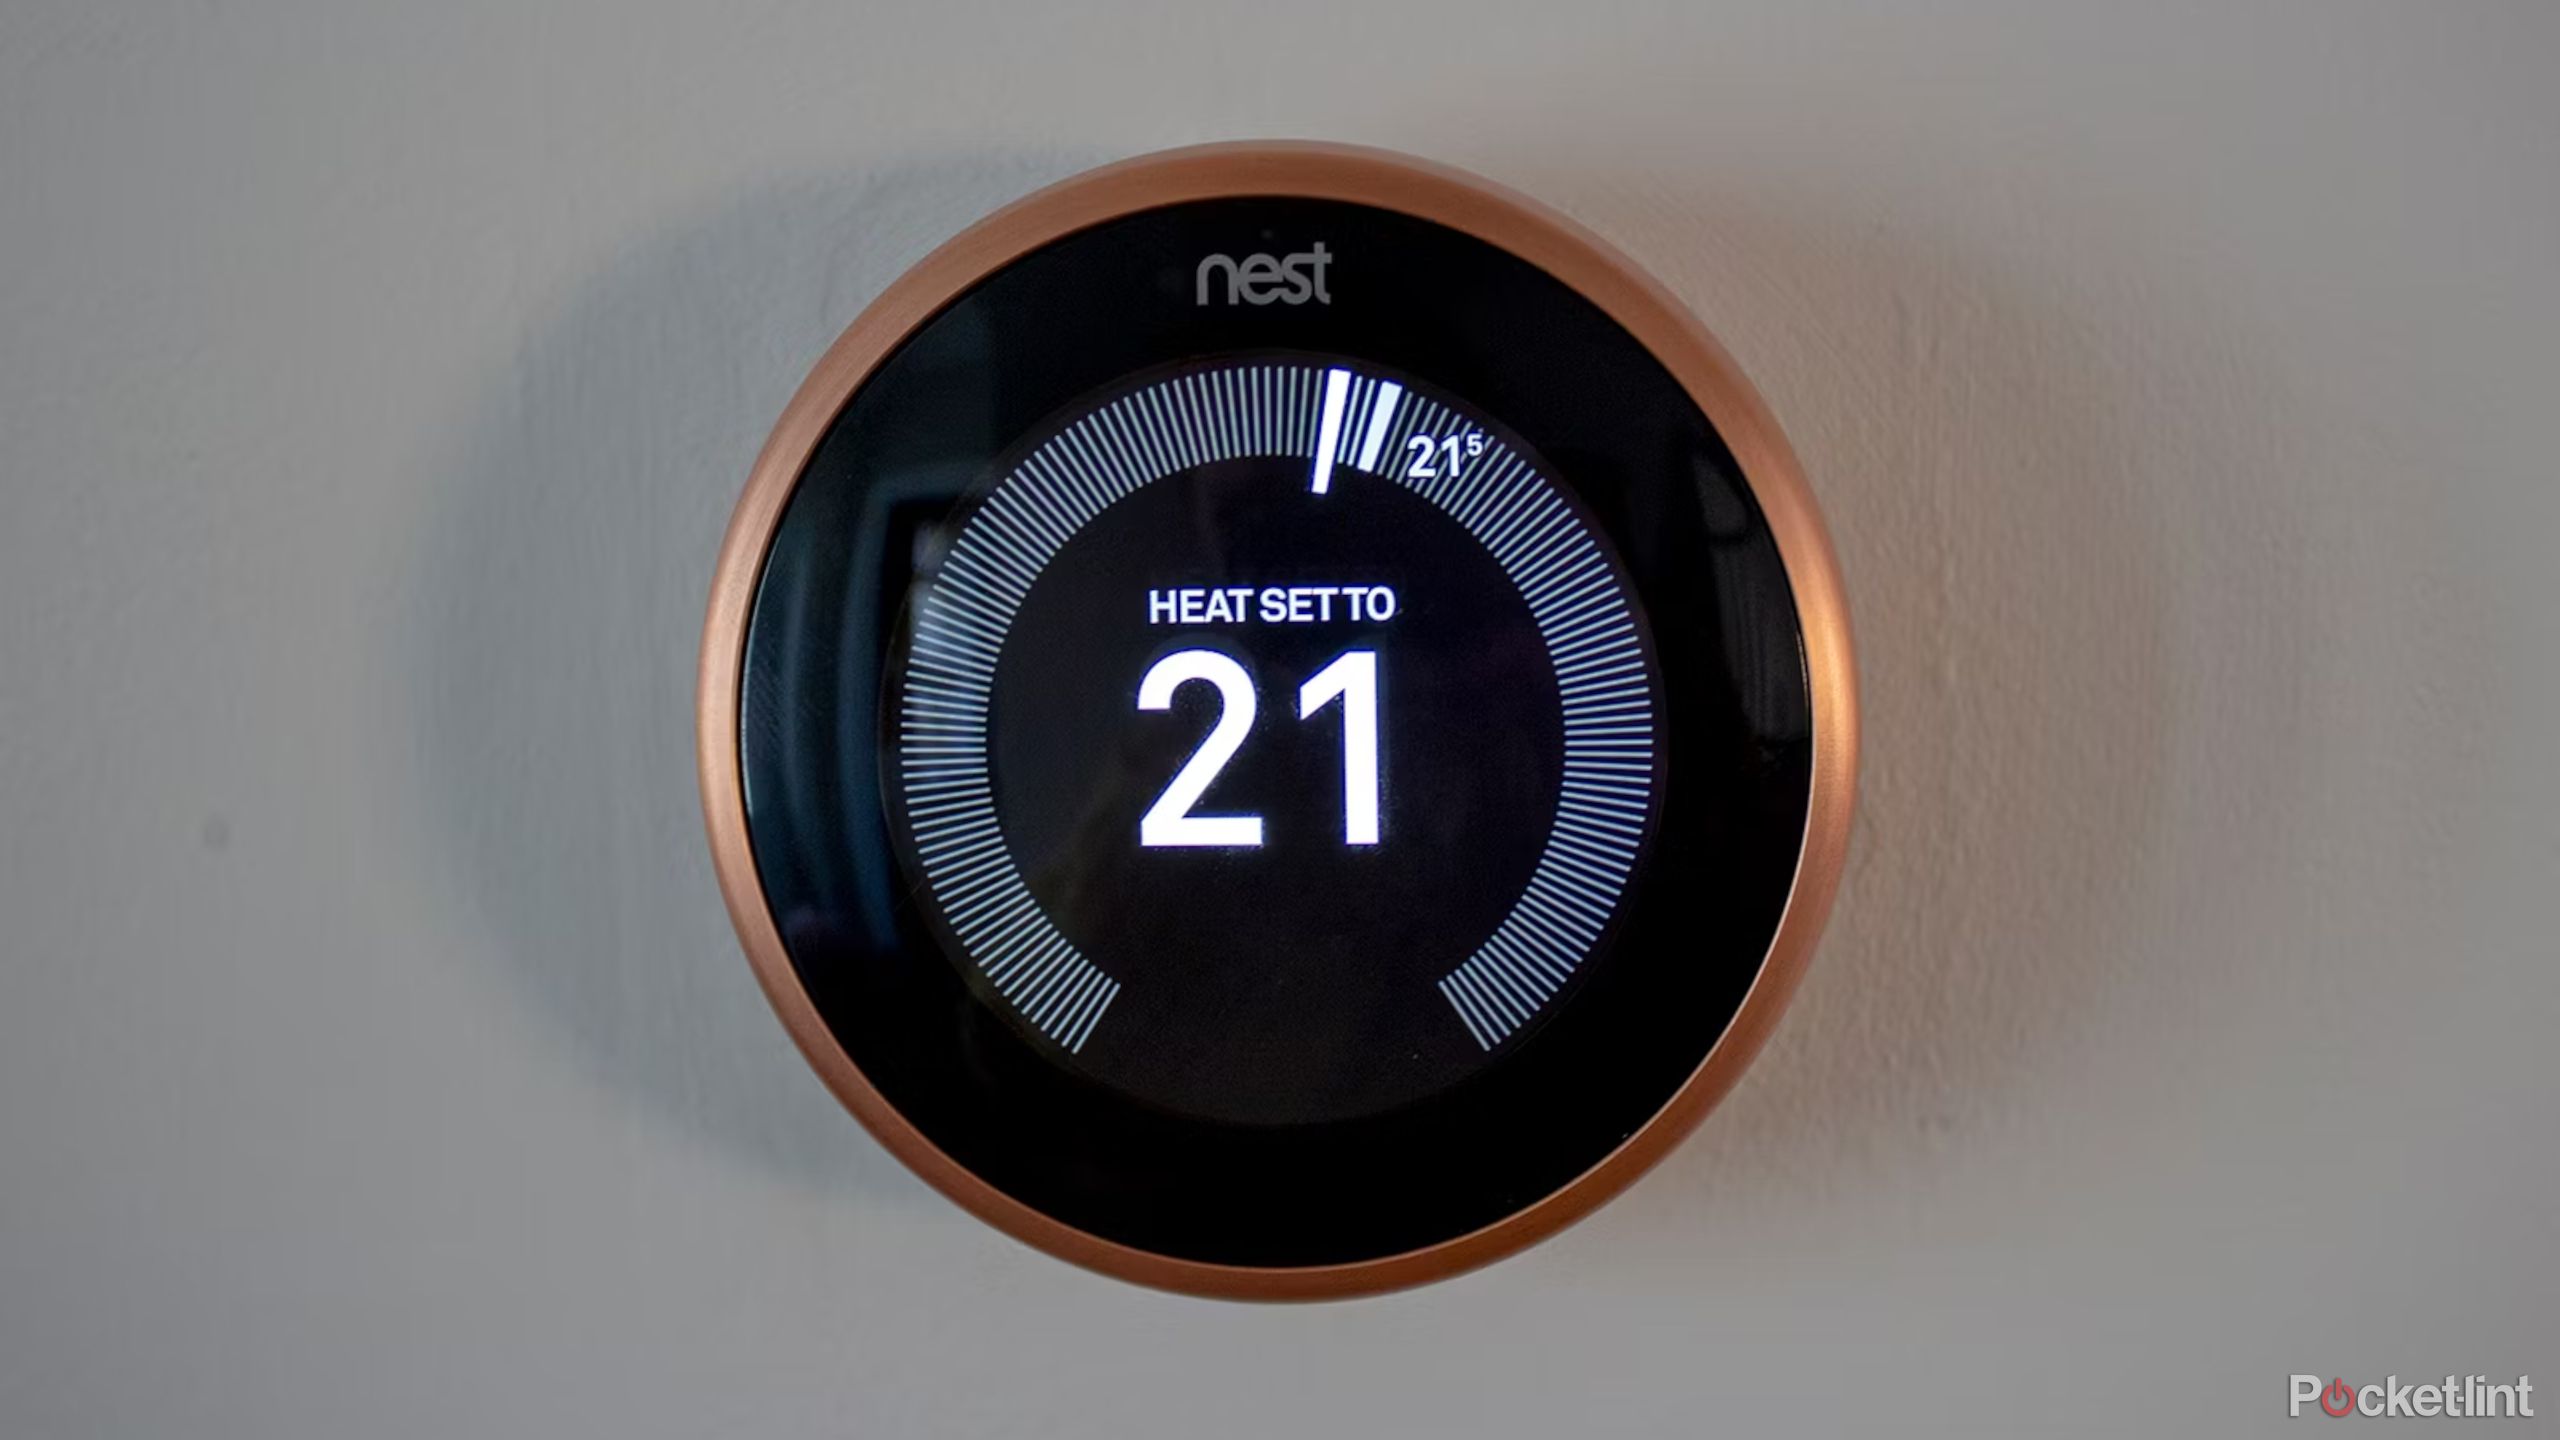
The way to regulate the temperature on the Nest Thermostat.
To show the temperature up or down in your Nest Thermostat, observe the steps under.
Throughout the Nest app:
- Faucet the thermostat circle
- Faucet the up or down arrows to extend or lower the temperature.
- This may override any scheduled temperature settings robotically, so you’ll be able to navigate again to the house display.
On the Nest Thermostat:
- Flip the skin dial clockwise or anti-clockwise to extend or lower the temperature.
- This may override any scheduled temperature settings robotically, so you’ll be able to depart it at your most well-liked temperature.
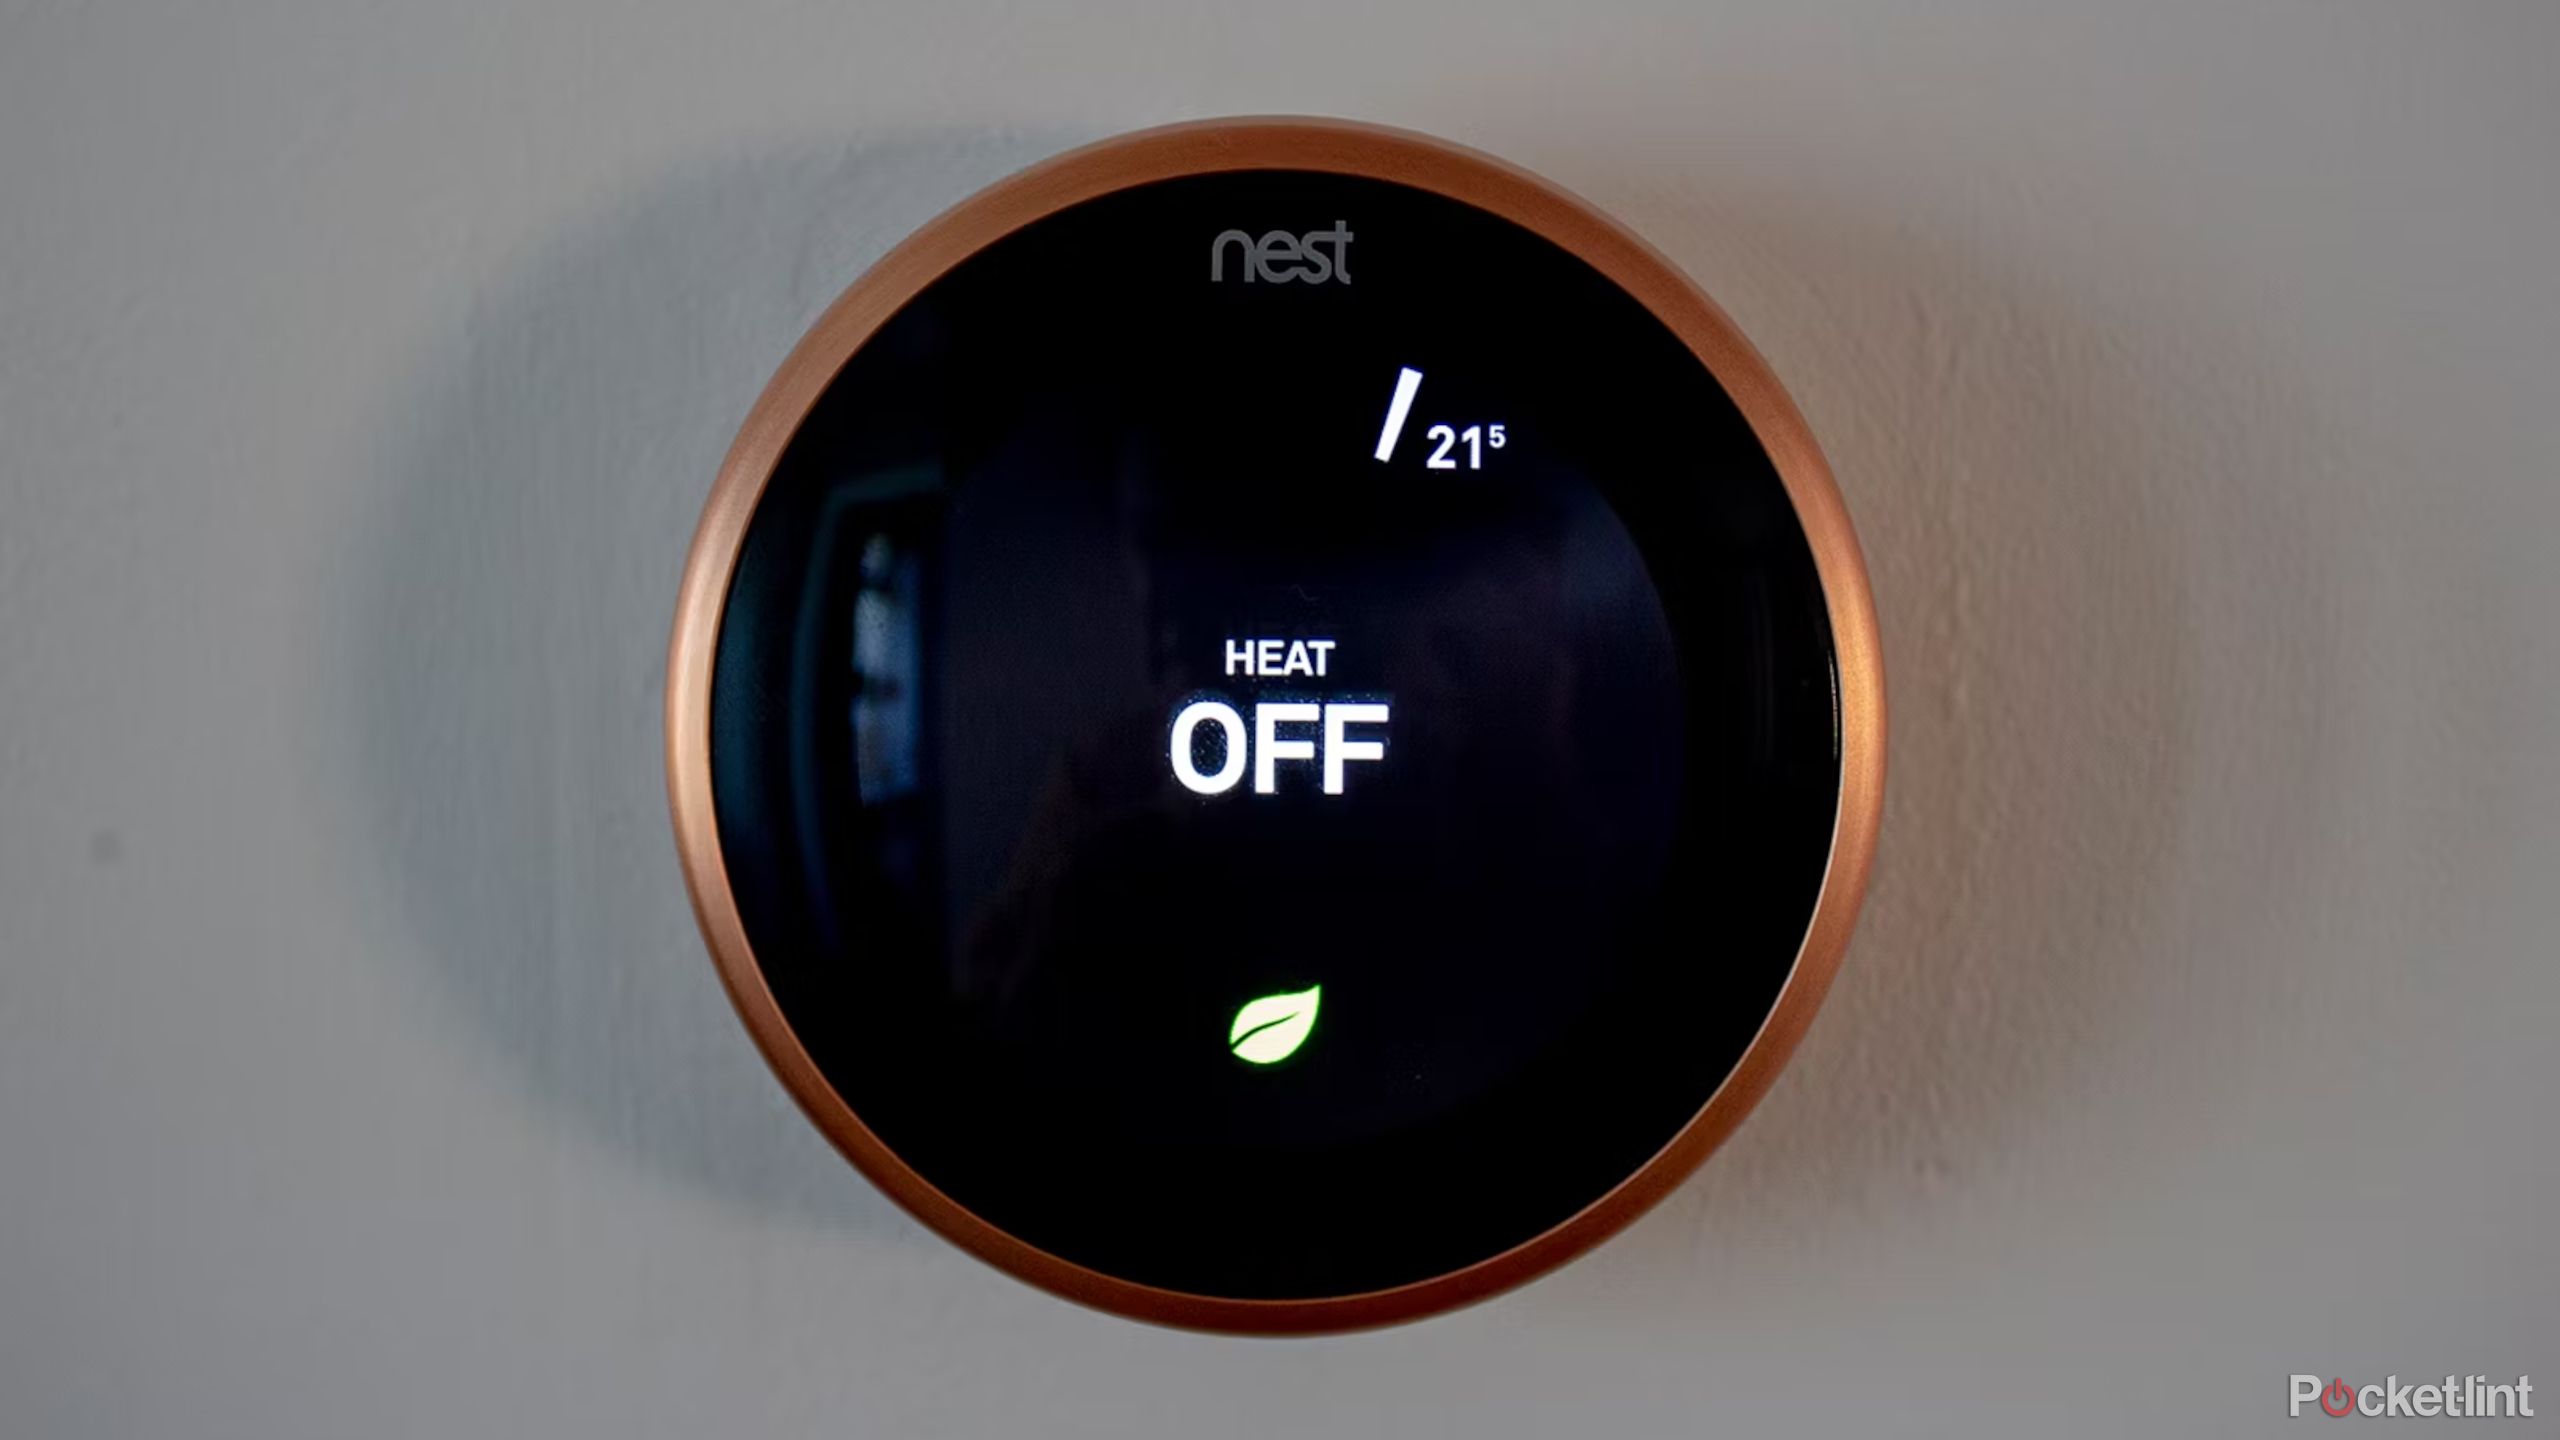
The way to flip off the warmth on the Nest Thermostat
Throughout the Nest app:
- Faucet on the thermostat circle.
- Faucet Mode.
- Choose Off.
On the Nest Thermostat:
- Push the face of the thermostat.
- Flip the skin dial clockwise till it lands on Mode.
- Push the face of the Thermostat once more to pick to Warmth on or Warmth off, relying on which setting it’s on.
The way to activate Eco Mode on the Nest Thermostat
Throughout the Nest app:
- Faucet on the thermostat circle.
- Faucet the Eco tab on the backside of the display.
- Choose Begin Eco.
On the Nest Themostat:
- Push the face of the thermostat.
- Flip the exterior dial clockwise till it lands on the icon of a leaf.
- Push the face of the Thermostat to pick.
- You possibly can navigate this menu utilizing the skin dial to scroll by means of the choices.
- Push the face of the Thermostat once more when Begin Eco Mode is highlighted in Blue.
The way to change the Eco Mode temperature on the Nest Thermostat
Throughout the Nest app:
- Faucet the thermostat circle.
- Faucet the Settings cog within the prime proper nook of the display.
- Scroll all the way down to Eco Temperatures within the Choices part.
- Select the temperature you need your own home to be at when Eco Mode is on.
Throughout the Nest Thermostat:
- Push the Thermostat.
- Flip the exterior dial clockwise to the Settings cog.
- Push the Thermostat to pick.
- Flip the exterior dial clockwise by means of the blue circles till you attain Eco.
- Push the Thermostat to pick.
- Push the Thermostat once more on the Warmth To field.
- Flip the dial clockwise to extend the Eco temperature and counter-clockwise to lower it.
- Push the Thermostat to substantiate the temperature.
- Flip the dial clockwise to scroll all the way down to Carried out.
- Push the Thermostat to finish.
 The way to set a security temperature on the Nest Thermostat to forestall frozen pipes
Throughout the Nest app:
- Faucet on the Thermostat circle.
- Faucet on the Settings cog within the prime proper nook of the display.
- Scroll all the way down to Security Temperature within the Choices part.
- Select the minimal temperature you need the Nest Thermostat to set, even when it is off.
On the Nest Thermostat:
- Push the Thermostat.
- Flip the exterior dial clockwise to the Settings cog.
- Push the Thermostat to pick.
- Flip the exterior dial clockwise by means of the blue circles till you land on Security Temp.
- Push the Thermostat to pick.
- Push the Thermostat once more on the Warmth To field.
- Flip the dial clockwise to extend the Security temperature and anti-clockwise to lower it.
- Push the Thermostat to substantiate the temperature.
- Flip the dial clockwise to scroll all the way down to Carried out.
- Push the Thermostat to finish.
 Nest Thermostat common ideas and methods
The following pointers are common housekeeping recommendations on find out how to use the Nest Thermostat and regulate a few of its settings.
The way to change what the Nest Thermostat shows as you strategy
The Nest Thermostat has a function referred to as Farsight on board that may show certainly one of plenty of choices if you find yourself close by. This function will also be turned off in order that the Thermostat’s show solely comes on when you strategy it, or off solely till you press it.
Throughout the Nest app:
- Push the Thermostat.
- Flip the dial clockwise to the Settings cog.
- Press the Thermostat in to pick.
- Flip the dial clockwise by means of the blue circles till you discover Show.
- Choose one of many choices to show if you’re utilizing Farsight by turning the dial clockwise till you attain the one you need.
- Push the Thermostat to pick.
- Flip the dial clockwise to Carried out.
- Push to finalize your choice.
Choices embody: Goal Temperature, Present Temperature, Analogue Clock, Digital Clock > Climate. Beneath the choices, you may see the choices when you do not wish to use Farsight.

The way to flip off the educational function in your Nest Thermostat
Throughout the Nest app:
- Faucet the thermostat circle.
- Faucet the Settings cog.
- Choose Auto-Schedule.
- Toggle off studying.
On the Nest Thermostat:
- Push the Thermostat.
- Flip the dial clockwise to the Settings cog.
- Push the Thermostat to pick.
- Flip the dial clockwise by means of the blue circles until you get to the Nest Sense circle.
- Push the Thermostat to pick.
- Push the Thermostat once more to pick Auto-Schedule.
- Flip the dial to scroll all the way down to Off.
- Push the Thermostat to pick.
The way to set your Nest Thermostat to robotically regulate once you’re not dwelling
Throughout the Nest app:
- Faucet on the thermostat circle.
- Faucet the Settings cog within the prime proper.
- Faucet Residence/Away Help.
- Toggle Robotically use Eco temperatures to On.
On the Nest Thermostat:
- Push the Thermostat.
- Flip the dial clockwise to the Settings cog.
- Push the Thermostat to pick.
- Push the Thermostat once more to pick Residence/Away.
- Push the Thermostat once more to pick Cease Utilizing or Use Eco, relying on the present settings.
The way to set Nest up with Google Assistant
Google owns Nest, and the 2 corporations are actually extra entwined than they had been initially. It’s simple to hyperlink your Nest account to Google Home for voice management by means of Google Assistant.
Throughout the Nest app:
- Open the Google Residence app.
- Press Add (+).
- Faucet Arrange system.
- Choose New units.
- Seek for Nest.
- Hyperlink your account by following the prompts.
As soon as linked, you can ask Google Assistant to show up the temperature or flip the heating off.
The way to join Nest to Amazon Alexa
Nest works with Amazon Alexa so when you have an Amazon Echo or Alexa-compatible device like Sonos, you’ll be able to management your Nest Thermostat by means of Amazon Alexa.
Throughout the Nest app:
- Open Amazon Alexa app.
- Faucet the three-line icon within the prime left nook.
- Faucet Expertise & Video games.
- Seek for Nest.
- Faucet on the Nest Thermostat.
- Press Allow to Use.
- Check in to your Nest Account to hyperlink.
These with a Sonos One, Sonos Beam (1st and 2nd generations), Sonos Arc, Sonos Roam or Sonos Move can management Nest by means of Alexa or Google Assistant, because the audio system help each assistants. People who have a Sonos Era 100 or Sonos Era 300 can use Alexa, although these two do not have Google Assistant help.
Trending Merchandise


